Preparing for Winter Road Trips: A Comprehensive Checklist
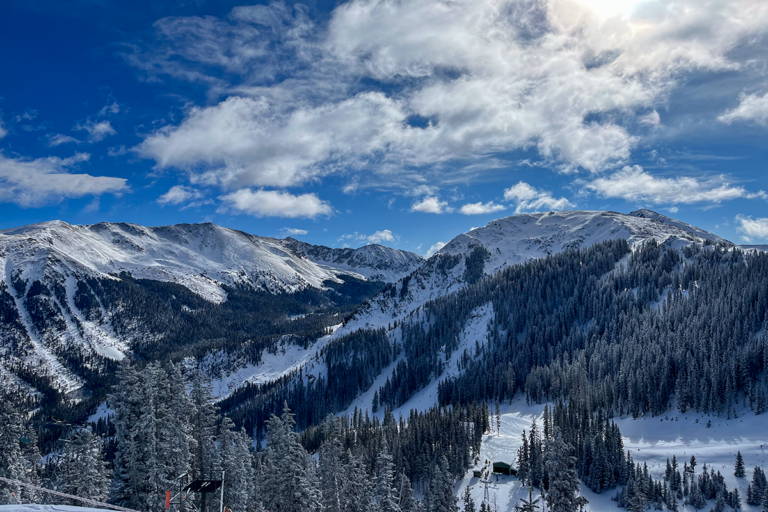
In the winter months, most travelers migrate to warmer climates, seeking sun-soaked beaches over frosty terrain. But, for those who crave fresh powder or visiting popular destinations without the crowds, winter road trips can be a nomad’s dream come true.
That doesn’t mean traveling in the winter comes without challenges. That’s why I’ve created this comprehensive winter checklist to ensure you are prepared and can tackle these challenges head-on.
Pre-Winter Maintenance
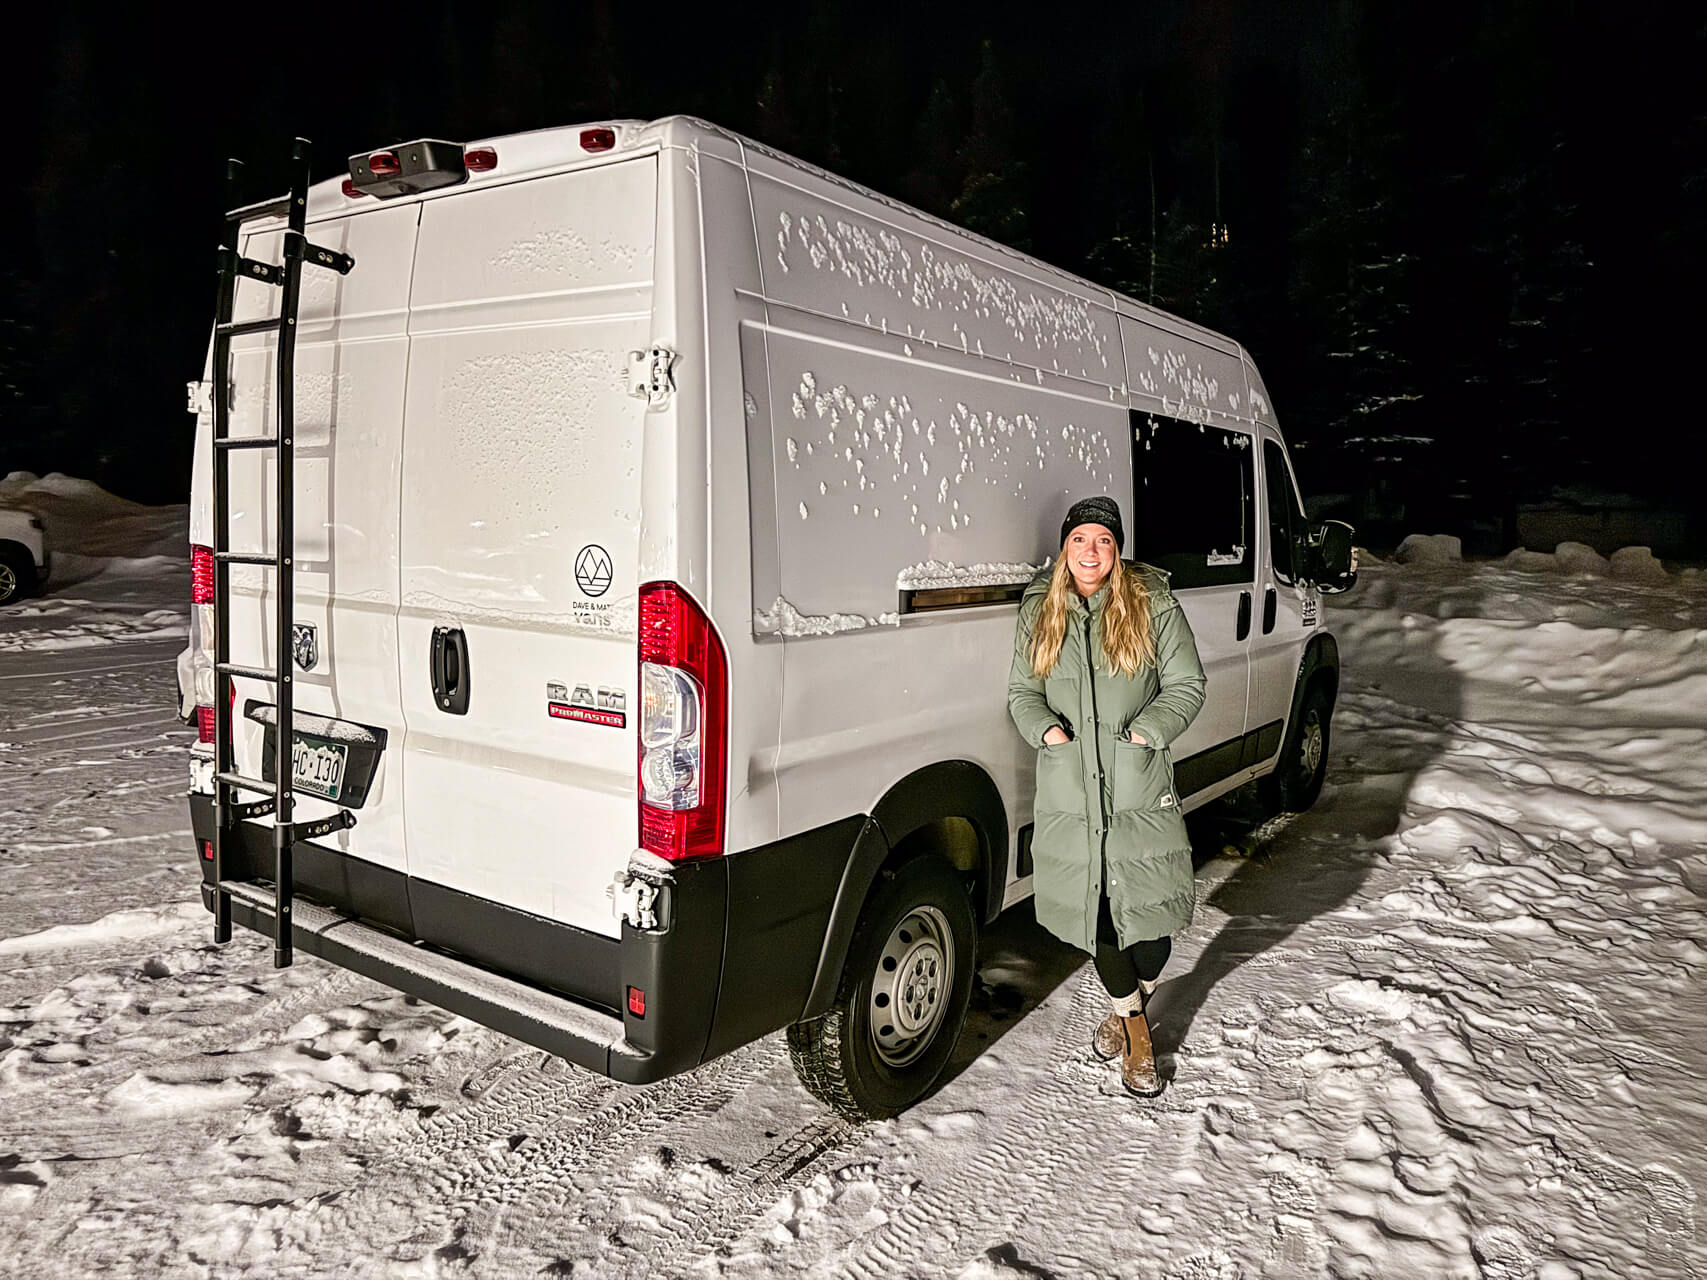
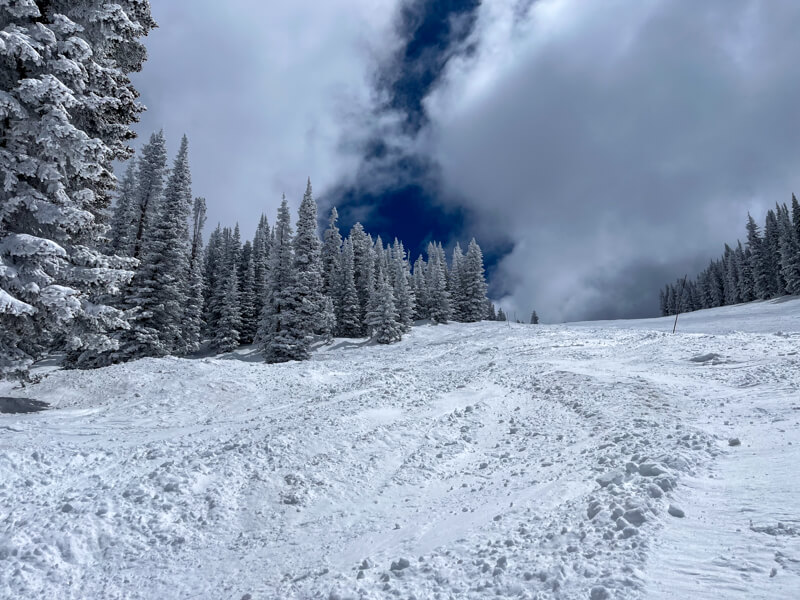
I try to tackle routine maintenance in the fall before temperatures drop. I also take a few proactive steps each year before the winter season hits to ensure my van is ready to go when the first snow falls.
Tires
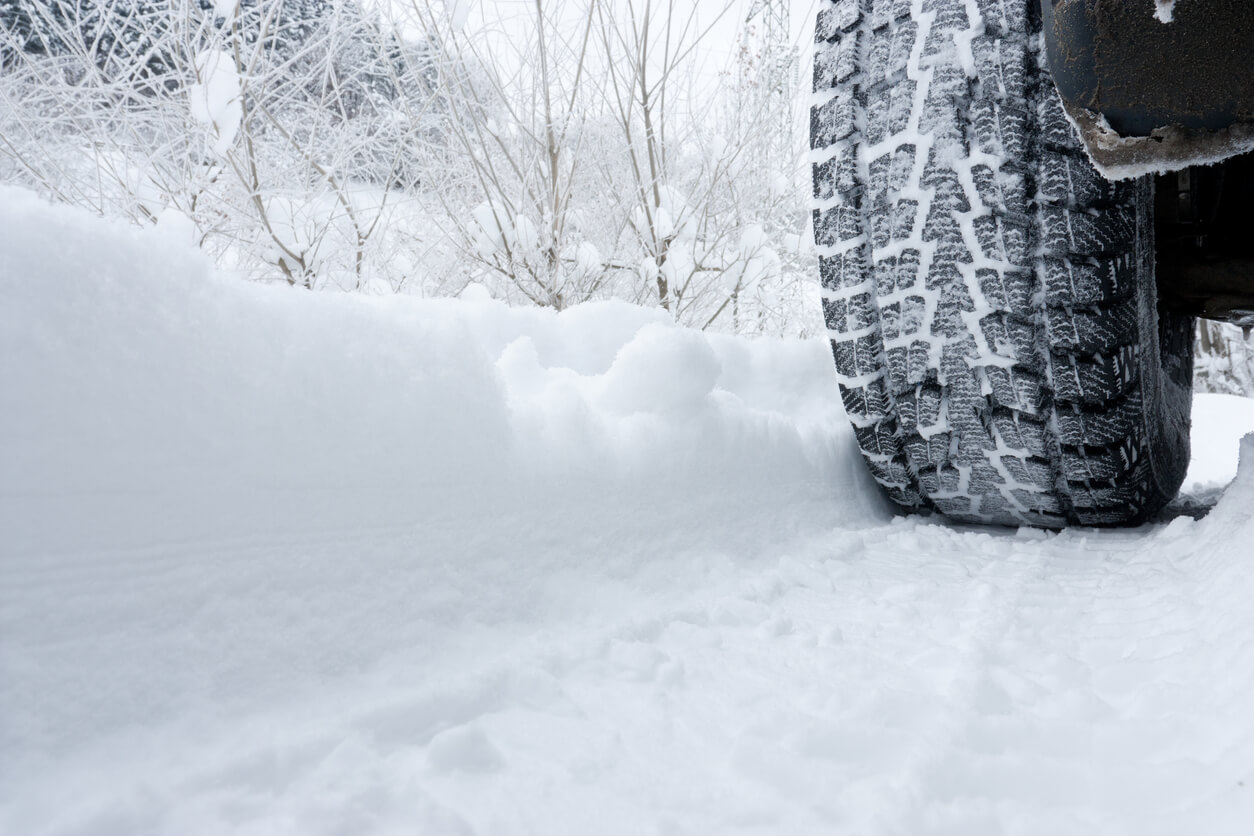
I’m ashamed to admit that I made it through three winter seasons on my Promaster’s factory tires. But I highly recommend quality tires for peace of mind and much better control on slippery surfaces and deep snow. Have your tires checked yearly to ensure you are getting the best performance.
I upgraded to the Michelin Agilis CrossClimate tires and have been really impressed by their capability. I decided to stick with all-terrain tires that are good for highway driving, off-road, and snow. These tires have a 3-peak mountain snow rating, which means they give you traction on the snowiest days.
Heater
If your rig has a heating system (like Espar or Webasto), it’s recommended that you get the heater serviced yearly, especially if you use it at high altitudes or live in your rig full-time. This will prevent soot buildup in the heating system, which could cause the heater not to ignite.
As a part-time van lifer, I had my Espar heater serviced after three winter seasons (approx. 16 weeks run time) with no significant build-up. If you live in the Denver area, I highly recommend Vanlife Customs. They install, repair, and do routine service on Espar and Webasto heaters. Their customer service is top-notch, and they do quality work.
General Maintenance
It’s never a bad idea to have a professional check your brake pads, discs, calipers, and battery before the winter season. Cold temperatures can reduce the battery’s efficiency and make it harder to start your vehicle. I’ll typically schedule an oil change in late fall and get these things checked at the same time.
Winterizing the Water System
Winterizing your water system prevents parts or components from freezing and should be done before temperatures drop below 40°F. One cold night with water in your system could cause broken pipes, filters, faucets, and water pumps.
Simply put, winterizing means getting water out of all components of your water system. The process will depend on your build, but it’s easier than it sounds! There are a ton of resources out there to get you started.
I use a 7-gallon Aqua-Tainer for shorter winter trips, so I don’t have to winterize whenever the van is parked.
If you live in your rig full-time, winterizing isn’t necessary as long as you have a reliable heating system and keep the internal temperature above 40°F at all times. Insulating pipes and water tanks can decrease the chance that they will freeze but will not prevent freezing if exposed to prolonged freezing temperatures.
Insulation
Having these items on hand can make a significant difference in keeping the cold air out and the warm air in.
Window Covers
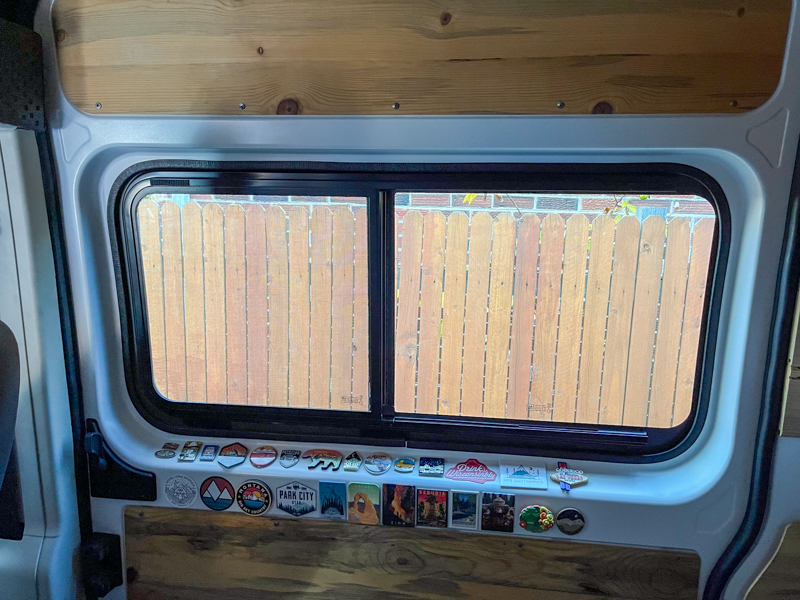
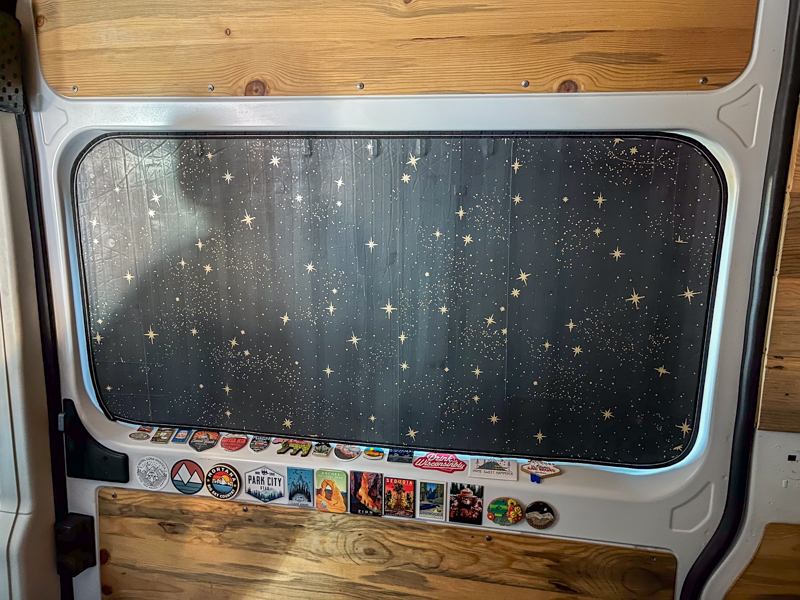
It’s easy to spend a lot on window covers like these magnetic ones sold by The Wanderful. While these window covers are very functional, there are less expensive options. I found a complete set for my Promaster at EuroCampers. Their in-stock items can be inconsistent, but if you can find what you need, you’ll save a lot of money.
The least expensive and most time-consuming option is to DIY window covers using Reflectix.
Roof Vent Insulator
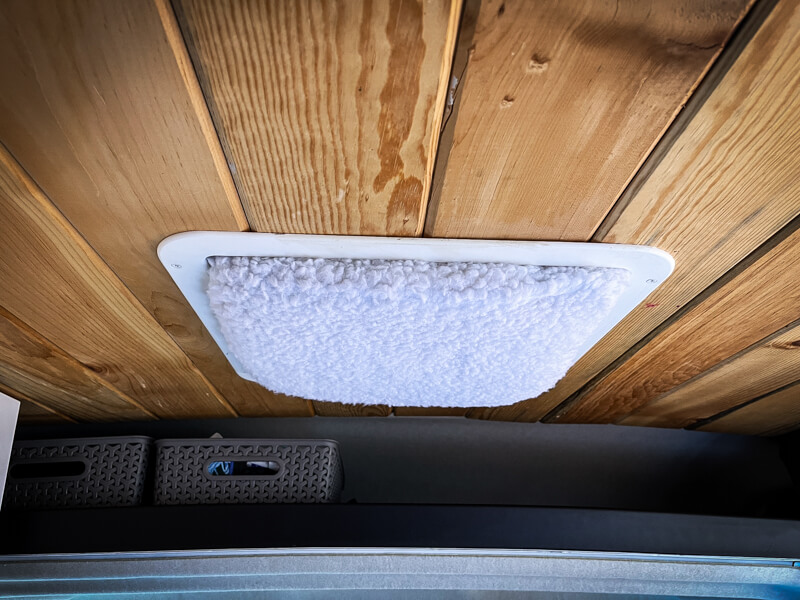
In addition to window covers, having a cover for the vents in your roof can help keep you cozy and warm. I use these inexpensive roof vent covers all winter long. They fit standard 14″ vents.
Heating Solutions
There are many options for staying warm in your rig. The important thing is to plan ahead and ensure that you are prepared for temperatures to drop lower than expected.
Heating System
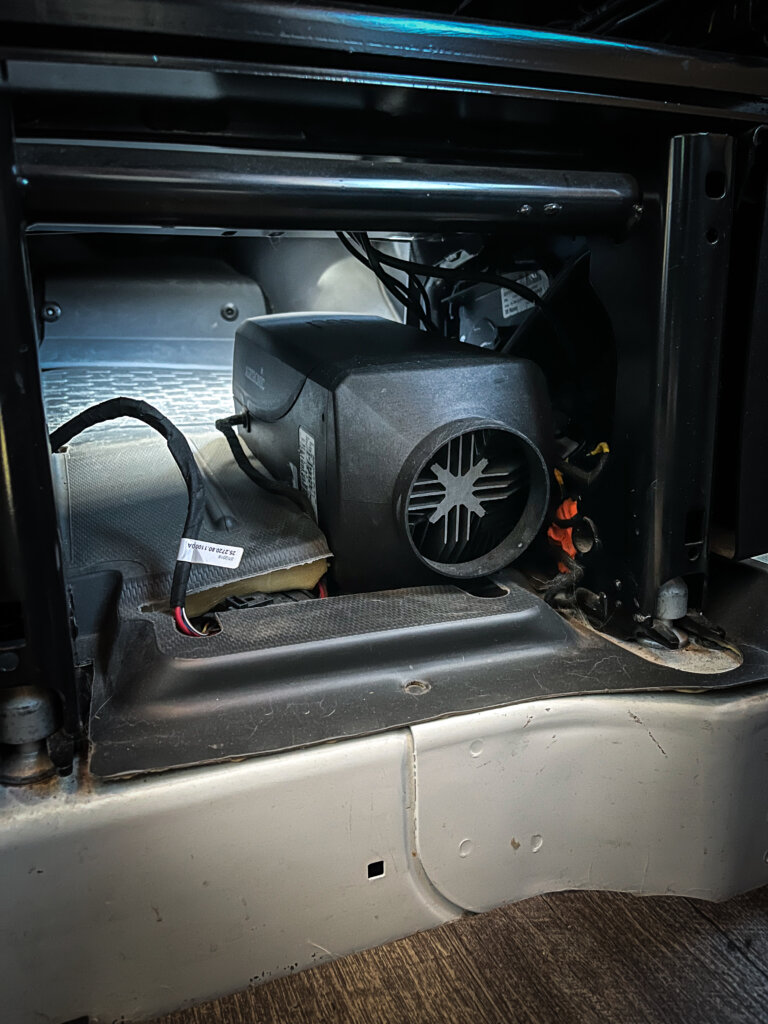
Installing a heating system in your rig is the most obvious solution for convenience and keeping you warm when temperatures drop. Despite the extra cost, getting a heating system professionally installed was a great decision for me and gives me piece of mind during the winter months.
Sleeping Bags
If you aren’t spending time in places with extreme temperatures, a high-quality sleeping bag may do the trick. High-quality sleeping bags can be an investment, but with options that will keep you warm down to -40° F, you shouldn’t have to worry about waking up cold at night. Getting out of bed in the morning may be another story.
Propane Heater
If you’re looking for low upfront costs, a propane heater may be a good option. The Portable Buddy Heater is a good option if you have propane access in your van, as it can be hooked up to a tank using an adaptor.
I keep the Portable Buddy Heater in my van during the winter as a backup in case my heating system malfunctions. The portable heater runs for approximately 5.6 hours on a 1-pound propane cylinder, so it’s not a great long-term option. But it’s essential to have a plan B, especially if you are remote camping in frigid temps.
Safety Note: If you use propane heat, your rig must be vented to prevent carbon monoxide poisoning.
Electric Blanket
Electric blankets can add an additional layer of toasty warmth on cold nights. However, they require power, so they may not be a good option if your battery is running on empty. The Ignik Topside Blanket is made for vehicle-based adventures.
Moisture Management
Moisture in your camper van can collect on windows, window seals, metal objects – or anything in the van that can maintain a colder temperature than the air. If you don’t handle the water build-up properly, it can create mold, cause wood rot, metal rust, or lead to more severe problems.
Dehumidifier
A dehumidifier is the best way to reduce condensation inside your camper van. You’ll especially want to use the dehumidifier in the mornings after the sun rises and the outside air temperatures warm up. This is usually the time when the majority of condensation collects.
If your heating system puts out dry heat, that can also significantly reduce moisture in your van and prevent you from needing a dehumidifier.
Boot Mat
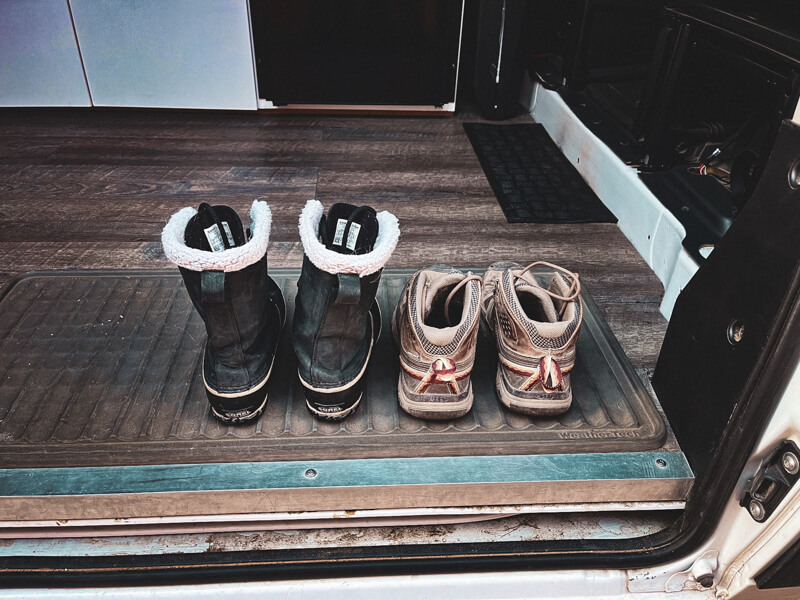
Unless you want your floor to turn into a small lake, you’ll want to get a boot mat. Boot mats keep water and mud contained and allow your shoes to dry properly. When living in such a small space, it’s necessary to keep your floors as dry as possible.
Absorbent Cloth or Chamois
A super-absorbent cloth is essential for clearing condensation off of the inside of the windshield and for catching other drips that will arise. I keep this drying chamois in the van and am impressed by how much water it can hold.
Maintaining Power
Between cloudier conditions, fewer hours of daylight, and snow blocking the rays from hitting your solar panels – solar intake drops significantly in the winter months. By following these tips, you can maximize your energy stores:
- Keep solar panels clear of ice and snow.
- Be mindful of energy consumption. Turn off lights and appliances when not in use, and try to combine tasks to minimize the use of your power systems. Even something as simple as turning off your inverter when not in use can save you power.
- Install an energy monitoring panel to keep track of power usage and battery status.
- A portable battery system can be a good way to carry extra power.
- Some coffee shops and breweries have outlets available if you want to drink a beverage while charging your electronics.
Safe Driving in Winter Conditions
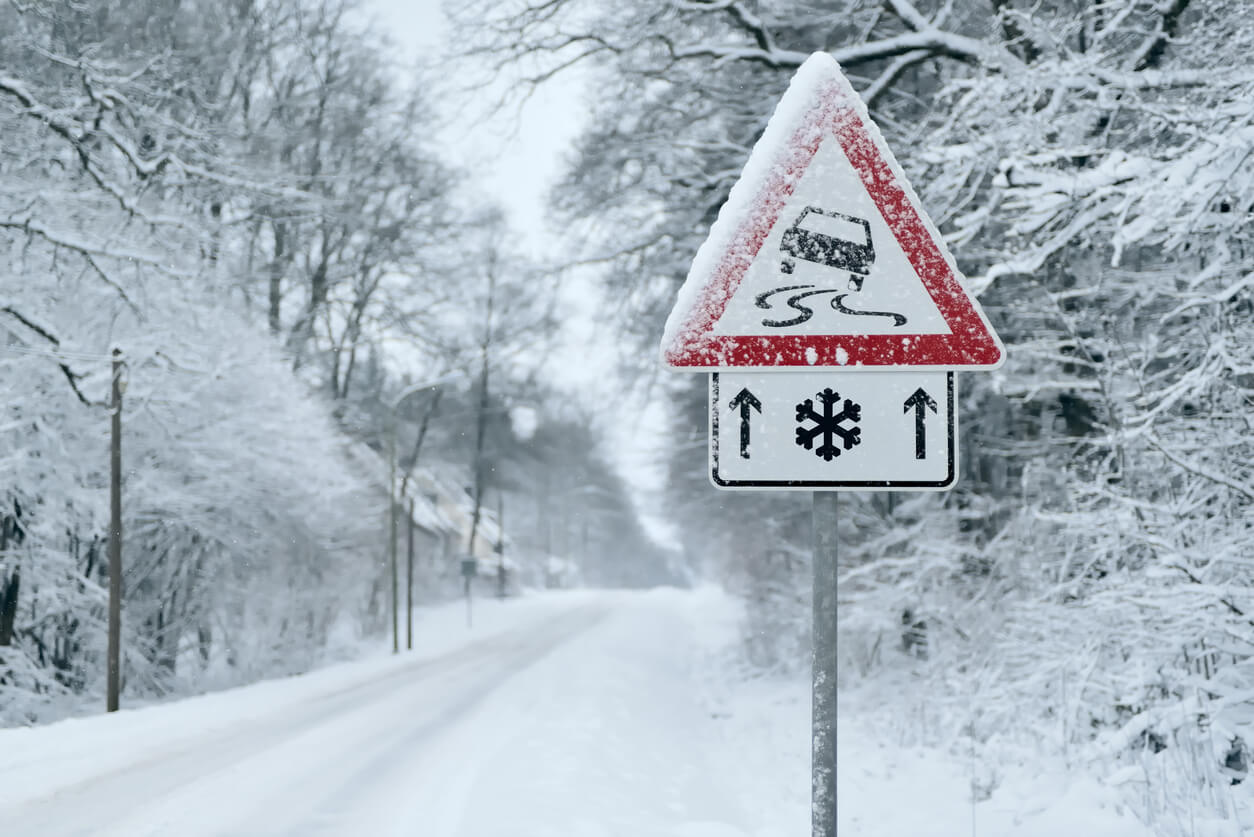
If you’re driving your rig in the winter, it’s crucial to know how to handle winter driving conditions. Even if you avoid slick roads like the plague (that’s me!), weather conditions can change quickly, and there will be times when you must face bad roads head-on.
Here are some tips to get you to your next destination safely:
- Plan ahead and check road and traffic conditions. You can usually find detailed road condition maps on each state’s Department of Transportation website. Some roads even have live cameras. I use Google Maps and Waze to get an idea of traffic conditions and slowdowns.
- Stay aware and read message signs. Accidents can happen quickly on icy roads. Stay aware and read message signs above the road that may alert you to an accident ahead.
- Accelerate and break slowly. Pump breaks instead of applying constant pressure. If your breaks lock up, you are going to slide.
- Don’t tailgate. Instead, increase your distance to five to six seconds. This will give you time to react if the person in front of you loses control.
- Don’t be afraid to go as slow as you need to feel comfortable. Put your hazard lights on if there’s reduced visibility, and stay in the right lane. With that being said, don’t ever drive under the minimum speed limit, especially on interstates and highways, as that can be dangerous as well.
- Give semi-trucks plenty of space. I’ve driven by some pretty gnarly semi-truck accidents on slick roads. Give them a ton of space, and avoid having a semi directly behind you, especially going downhill.
- Chain up! If the roads are dicey, stop and put chains on to give yourself more control. Remember that most chains have a recommended top speed of 30mph.
- Pull over if necessary. The nice thing about driving a home on wheels is that you can pull over anytime and have everything you need. Just make sure you pull over in a safe spot and not on the side of a busy highway.
- Have roadside assistance. This can be super helpful in a pinch. Most insurance companies offer roadside assistance. If you have it, read your policy and know what’s covered.
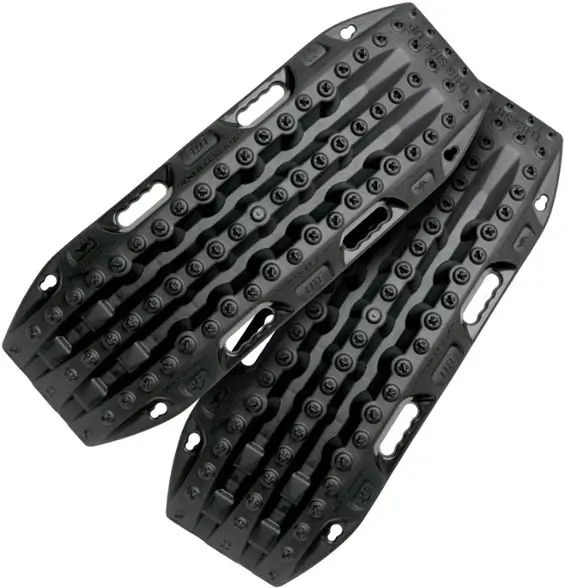
Emergency Preparedness Kit
These are the essential items that will keep you safe and not stranded this winter:
Winter Packing Essentials
These are the essential items that will keep you content and cozy in your van this winter:
Conclusion
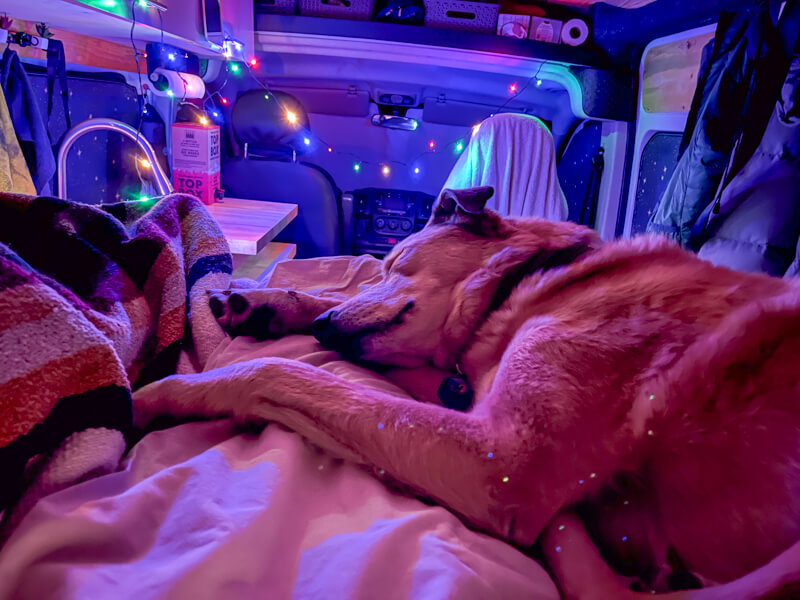
I hope this checklist helps all my fellow snowmads gear up for winter’s adventures. Winter may present a unique set of challenges, but if you can turn the obstacles into opportunities, you’ll live out your best winters on the road. Embrace it with open arms, a cozy blanket, and a piping-hot mug of cocoa.
Affiliate Disclaimer: My blog posts contain affiliate links. This means if you click a link and make a purchase, I may receive a small commission at no extra cost to you. Read more in my Privacy Policy.

